Set visibility on templates/folders
When creating folders and templates, it might be useful to make them invisible for the Plus users (stores) to begin with. However, when the templates are finished and ready to use for the stores, you can make them accessible by making them visible again.
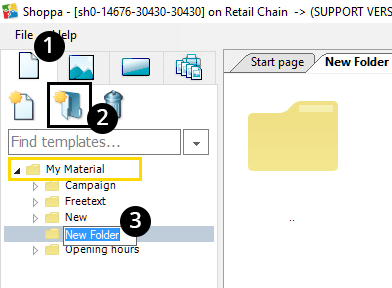
1. Right-click on a folder/template.
2. Select Visibility.
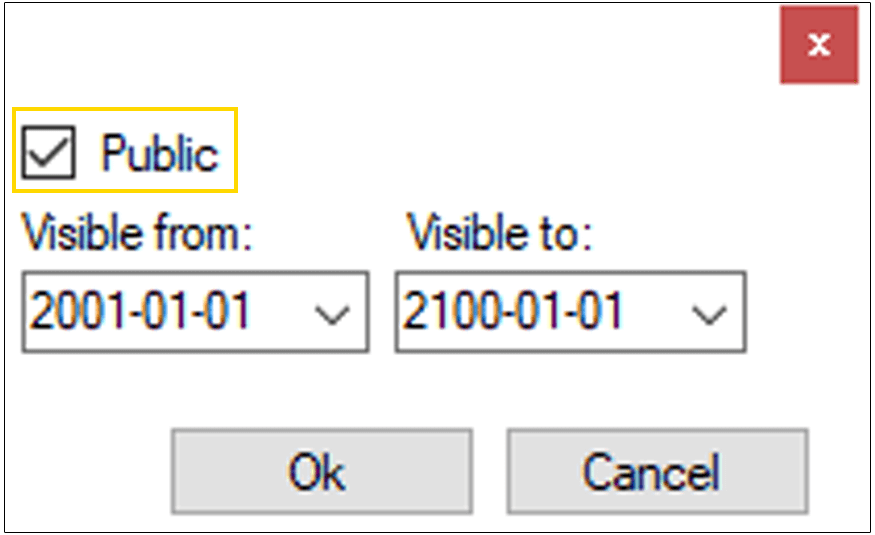
3. Tick the box Public if you want the folder/template to be visible, alternatively leave the box blank for the opposite. The names of the visible folders/templates under the Templates tab are always blue colored, except the invisible ones, they become grey colored.
4. Set a specific time period if you want the folder/template to be visible merely during a certain period of time. Do this by filling in the Visible from and Visible to date. The name of the folder/template will then become grey colored and have a small indicative clock icon next to the name, to demonstrate that it will be visible only during a certain period of time. This functions are only available and visible for Enterprise users.