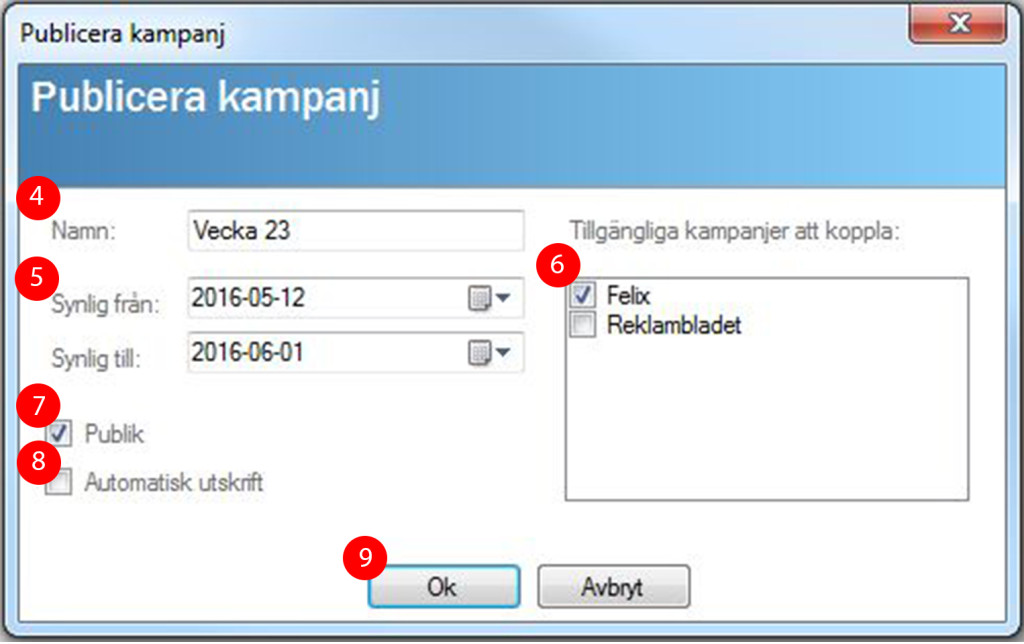
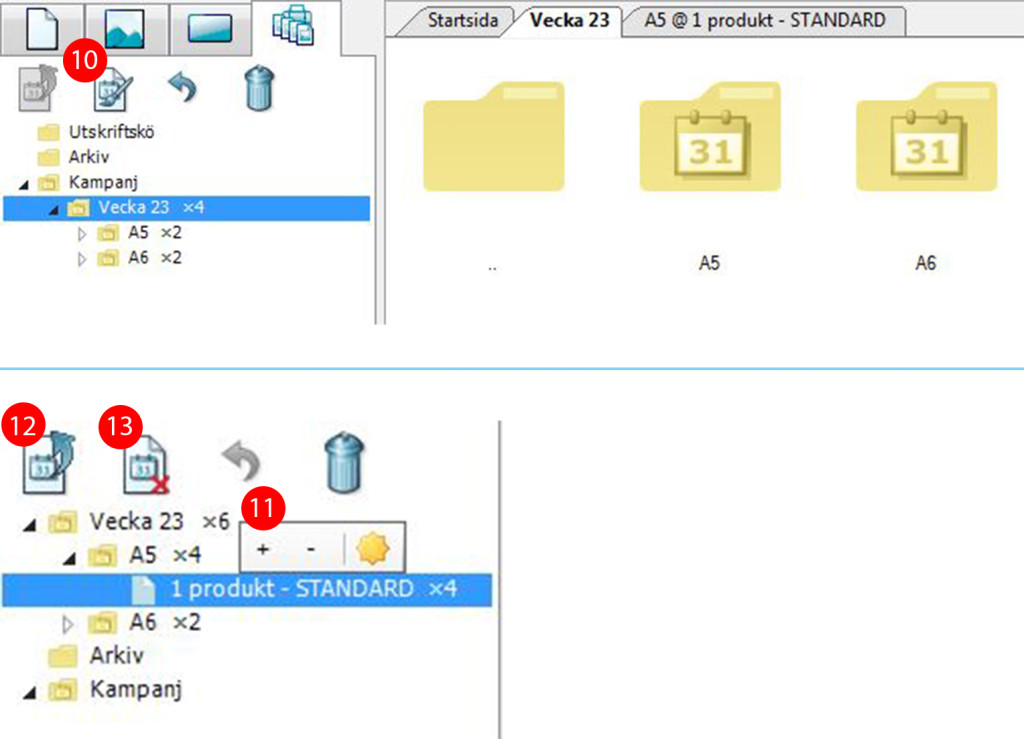
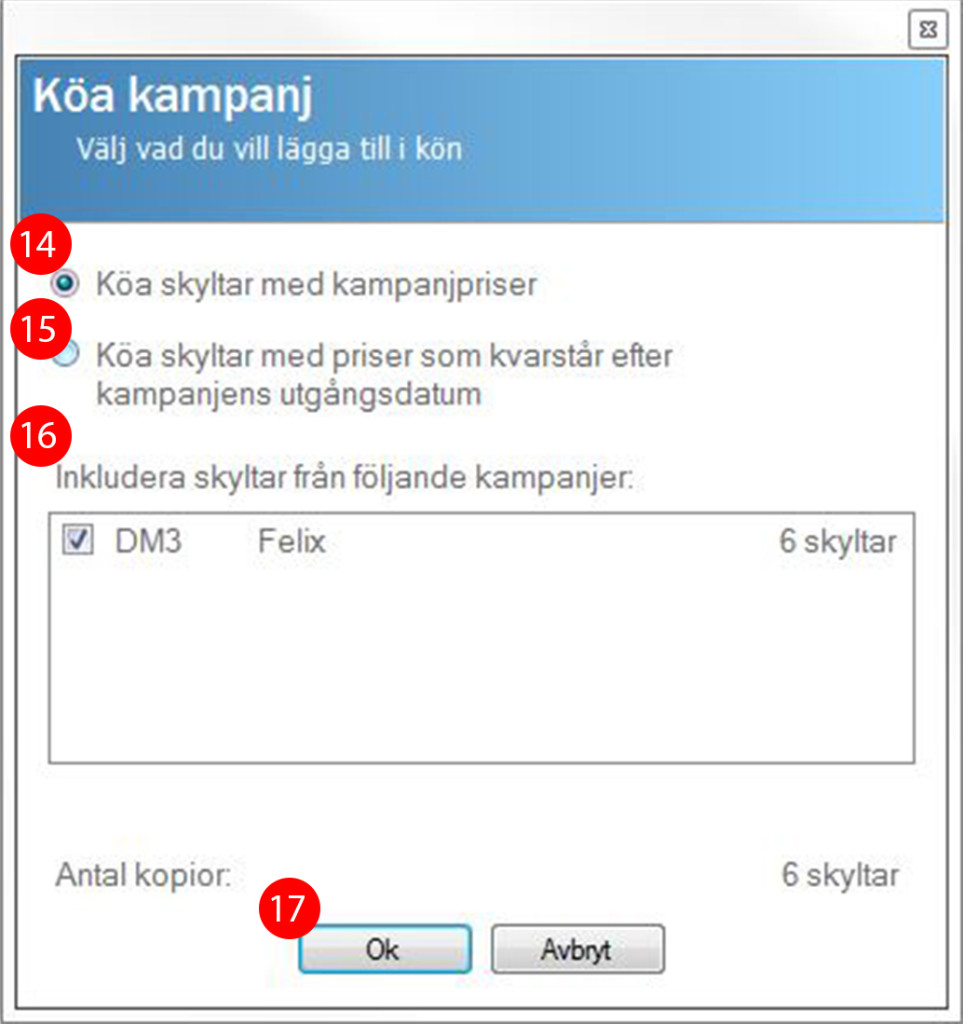
Print Campaigns

Shoppa 2.18 now offers the opportunity to print campaigns in a different way. The difference between Print campaigns and Multi print is that with Print campaigns you can affect all stores that are part of the chain, to print these at the same time. In this section, we will therefore explain how this works.

Publish campaign

1. Start by choosing existing signs, or create new unique campaign signs that you want to include in the campaign.
2. Place the signs in the Printer queue.
3. Go to the Printer Queue tab and click the Publish Campaign icon.

4. Type the name of the published campaign, e.g. Week 23.
5. Enter the period the campaign should be available for your stores.
6. (This step is optional) Select which of the available campaigns you want to link to publish the campaign.
7. Specify whether it should be Public or Invisible to your stores.
8. Specify whether the publication should be automated at all stores. Read more about this further down on this page.
9. Click Ok.

Edit campaign

  • 10. Now you can choose to edit them if you wish. 
  • 11. Add signs, remove signs or change their format in edit mode. There is also the possibility to change pictures or prices on the signs.
  • 12. To save the changes, click the Publish campaign icon and follow steps 5-9 to publish the campaign.
  • 13. To cancel editing mode, click Cancel Campaign Editing. Once the changes have been made and you have published the campaign again, the changes will reach all stores.

Queue Campaign

When changes have been made and you have the Campaign folder selected, click the plus in the printer icon to run the campaign. A pop-up window will give you the following options:

14. Queue signs with sales prices.

15. Queue signs with prices remaining after the campaigns expiration date.

16. Include signs from the following campaigns:

17. Click OK when you have made your options.

Click the Print icon again to print out all the signs.

Automatic prints

From the headquarters, you can with this setting print out campaign signs on a specified date at all stores included in the chain.

Follow follow steps 1-9, and select Auto Print in the Publish Campaign window. After clicking Ok, a pop-up window will appear in all the stores computer screens. The pop-up window shows a countdown for when the campaigns will print out. However if its not suitable for the stores to print out that exact time (for example, to replace paper in the printer), they can stop the countdown. Thereafter the stores can either click Print Now or Cancel to cancel the process.

Tip from Shoppa!

When all campaign settings are completed (4-9), a printer icon will appear next to the campaign name in the Campaign folder. Click it to place all the included signs in that campaign in the Printer Queue and then also print out (14-17).